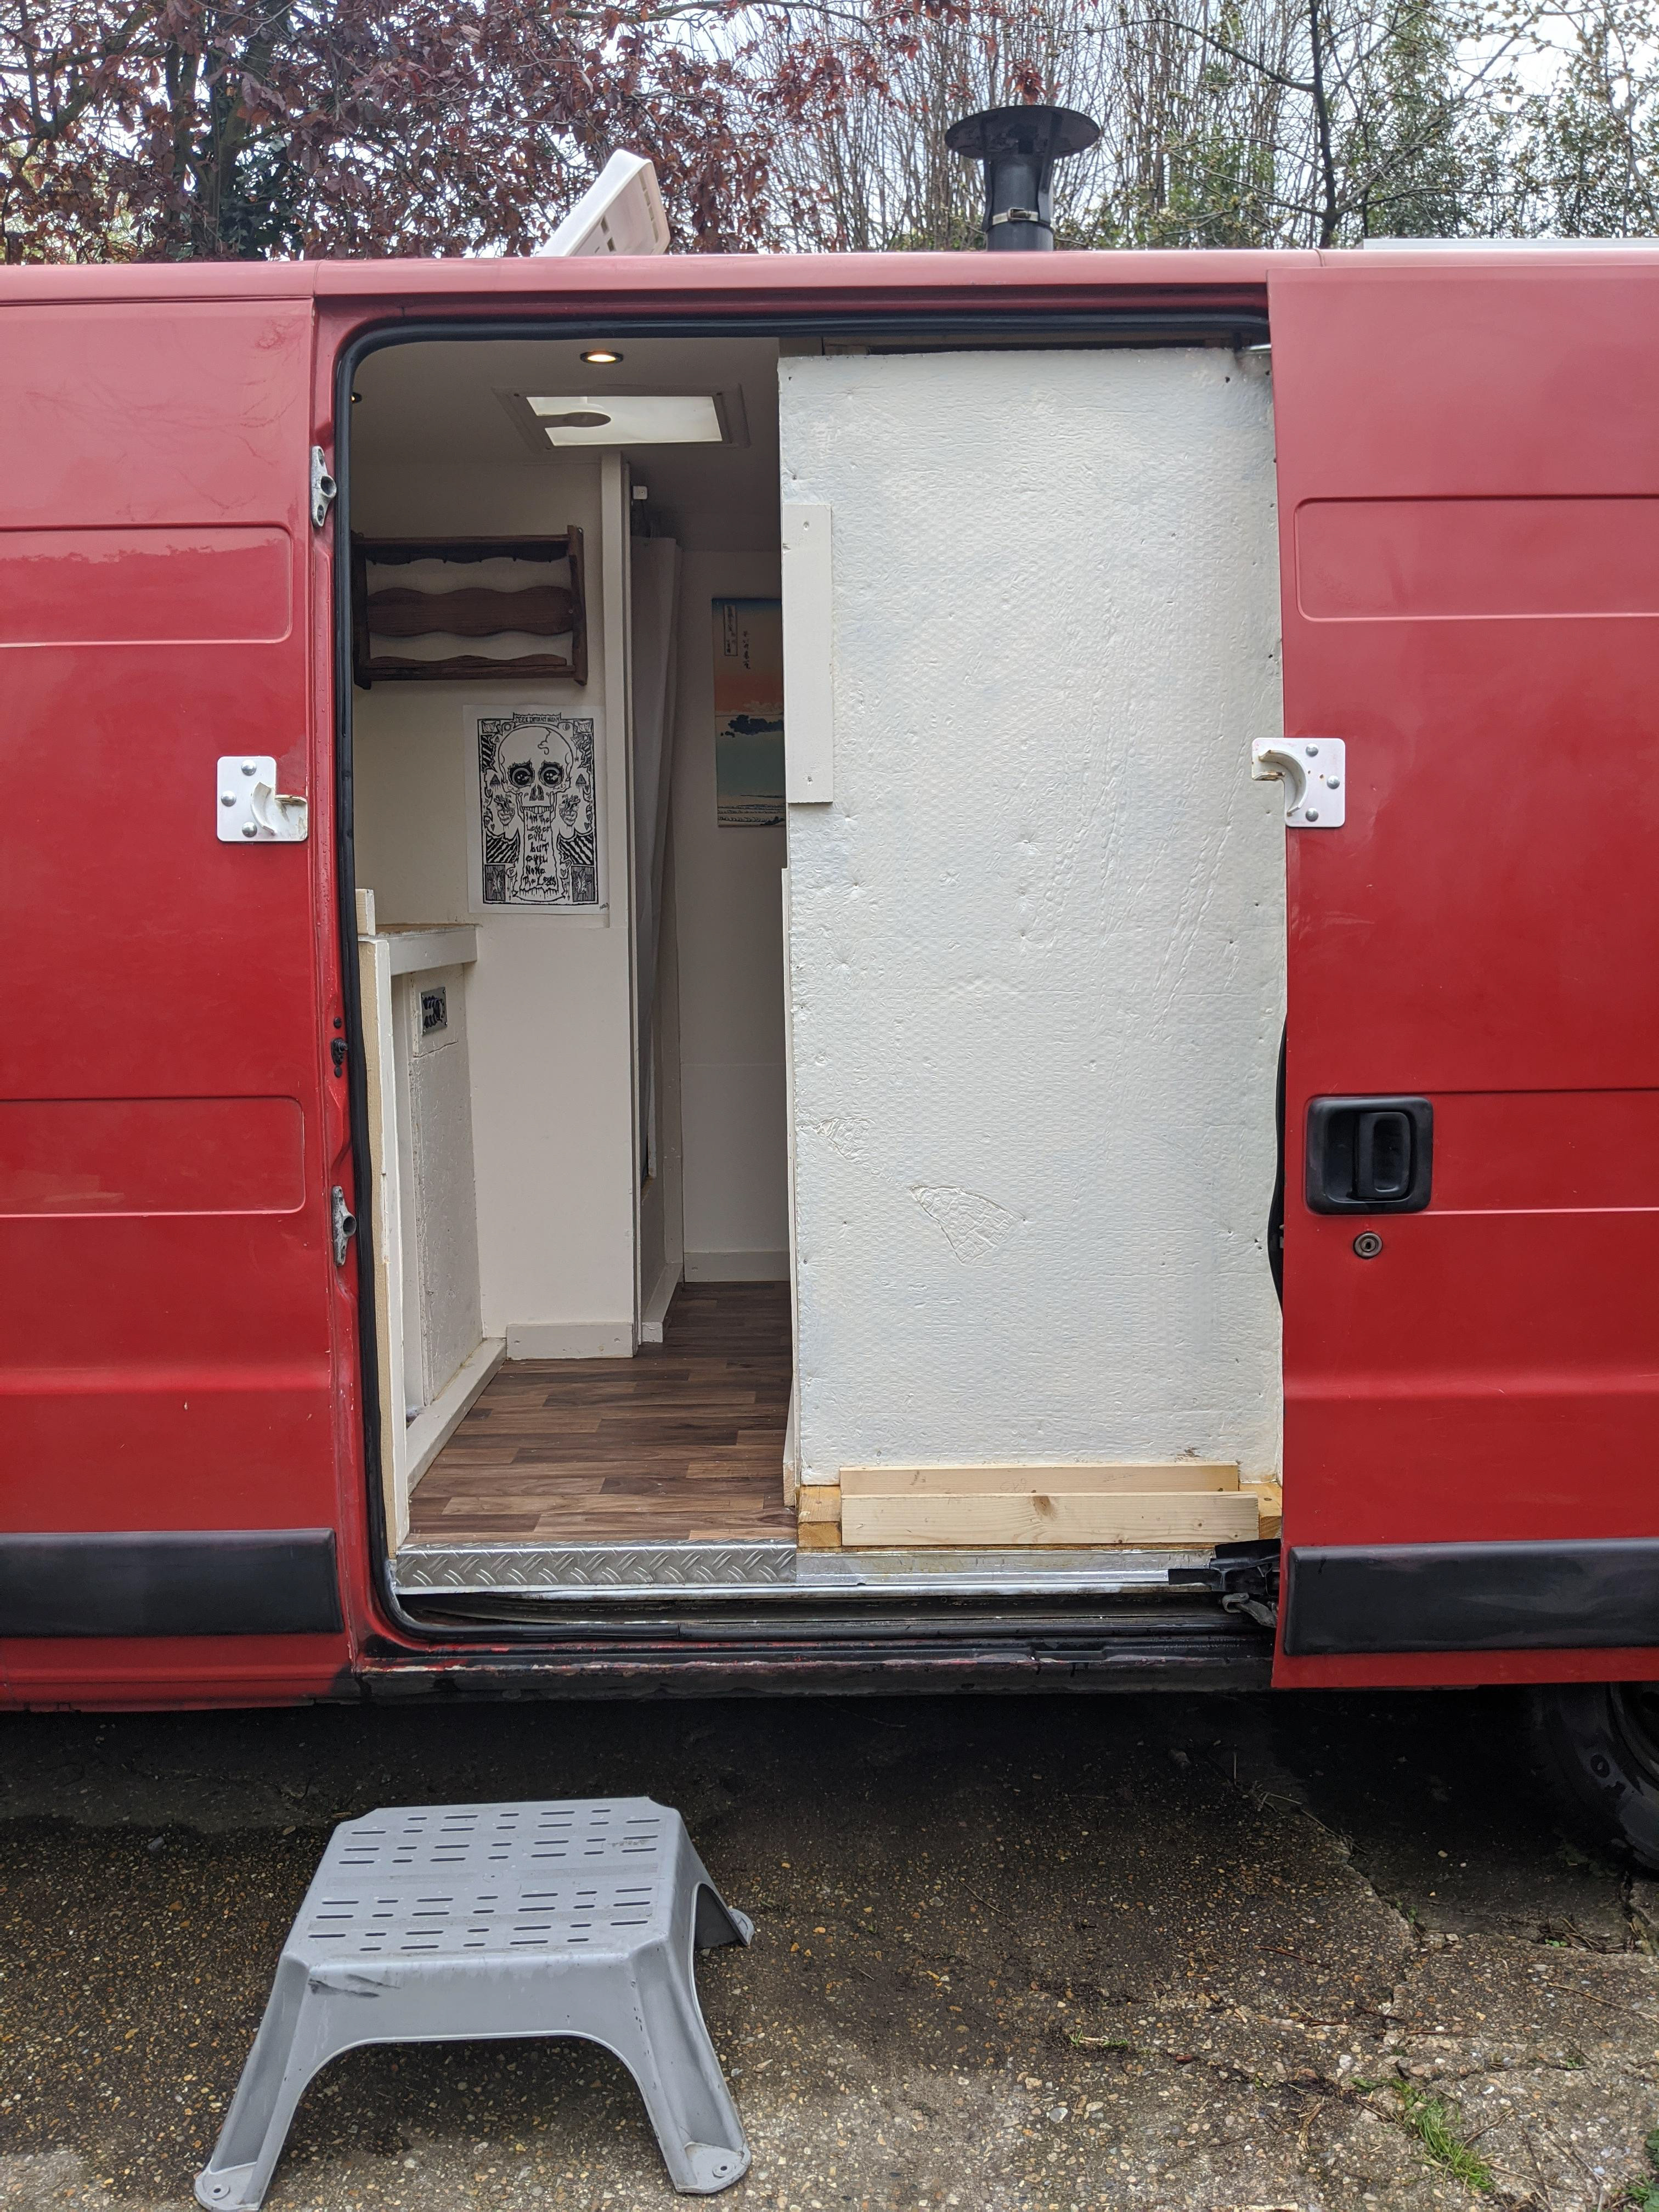
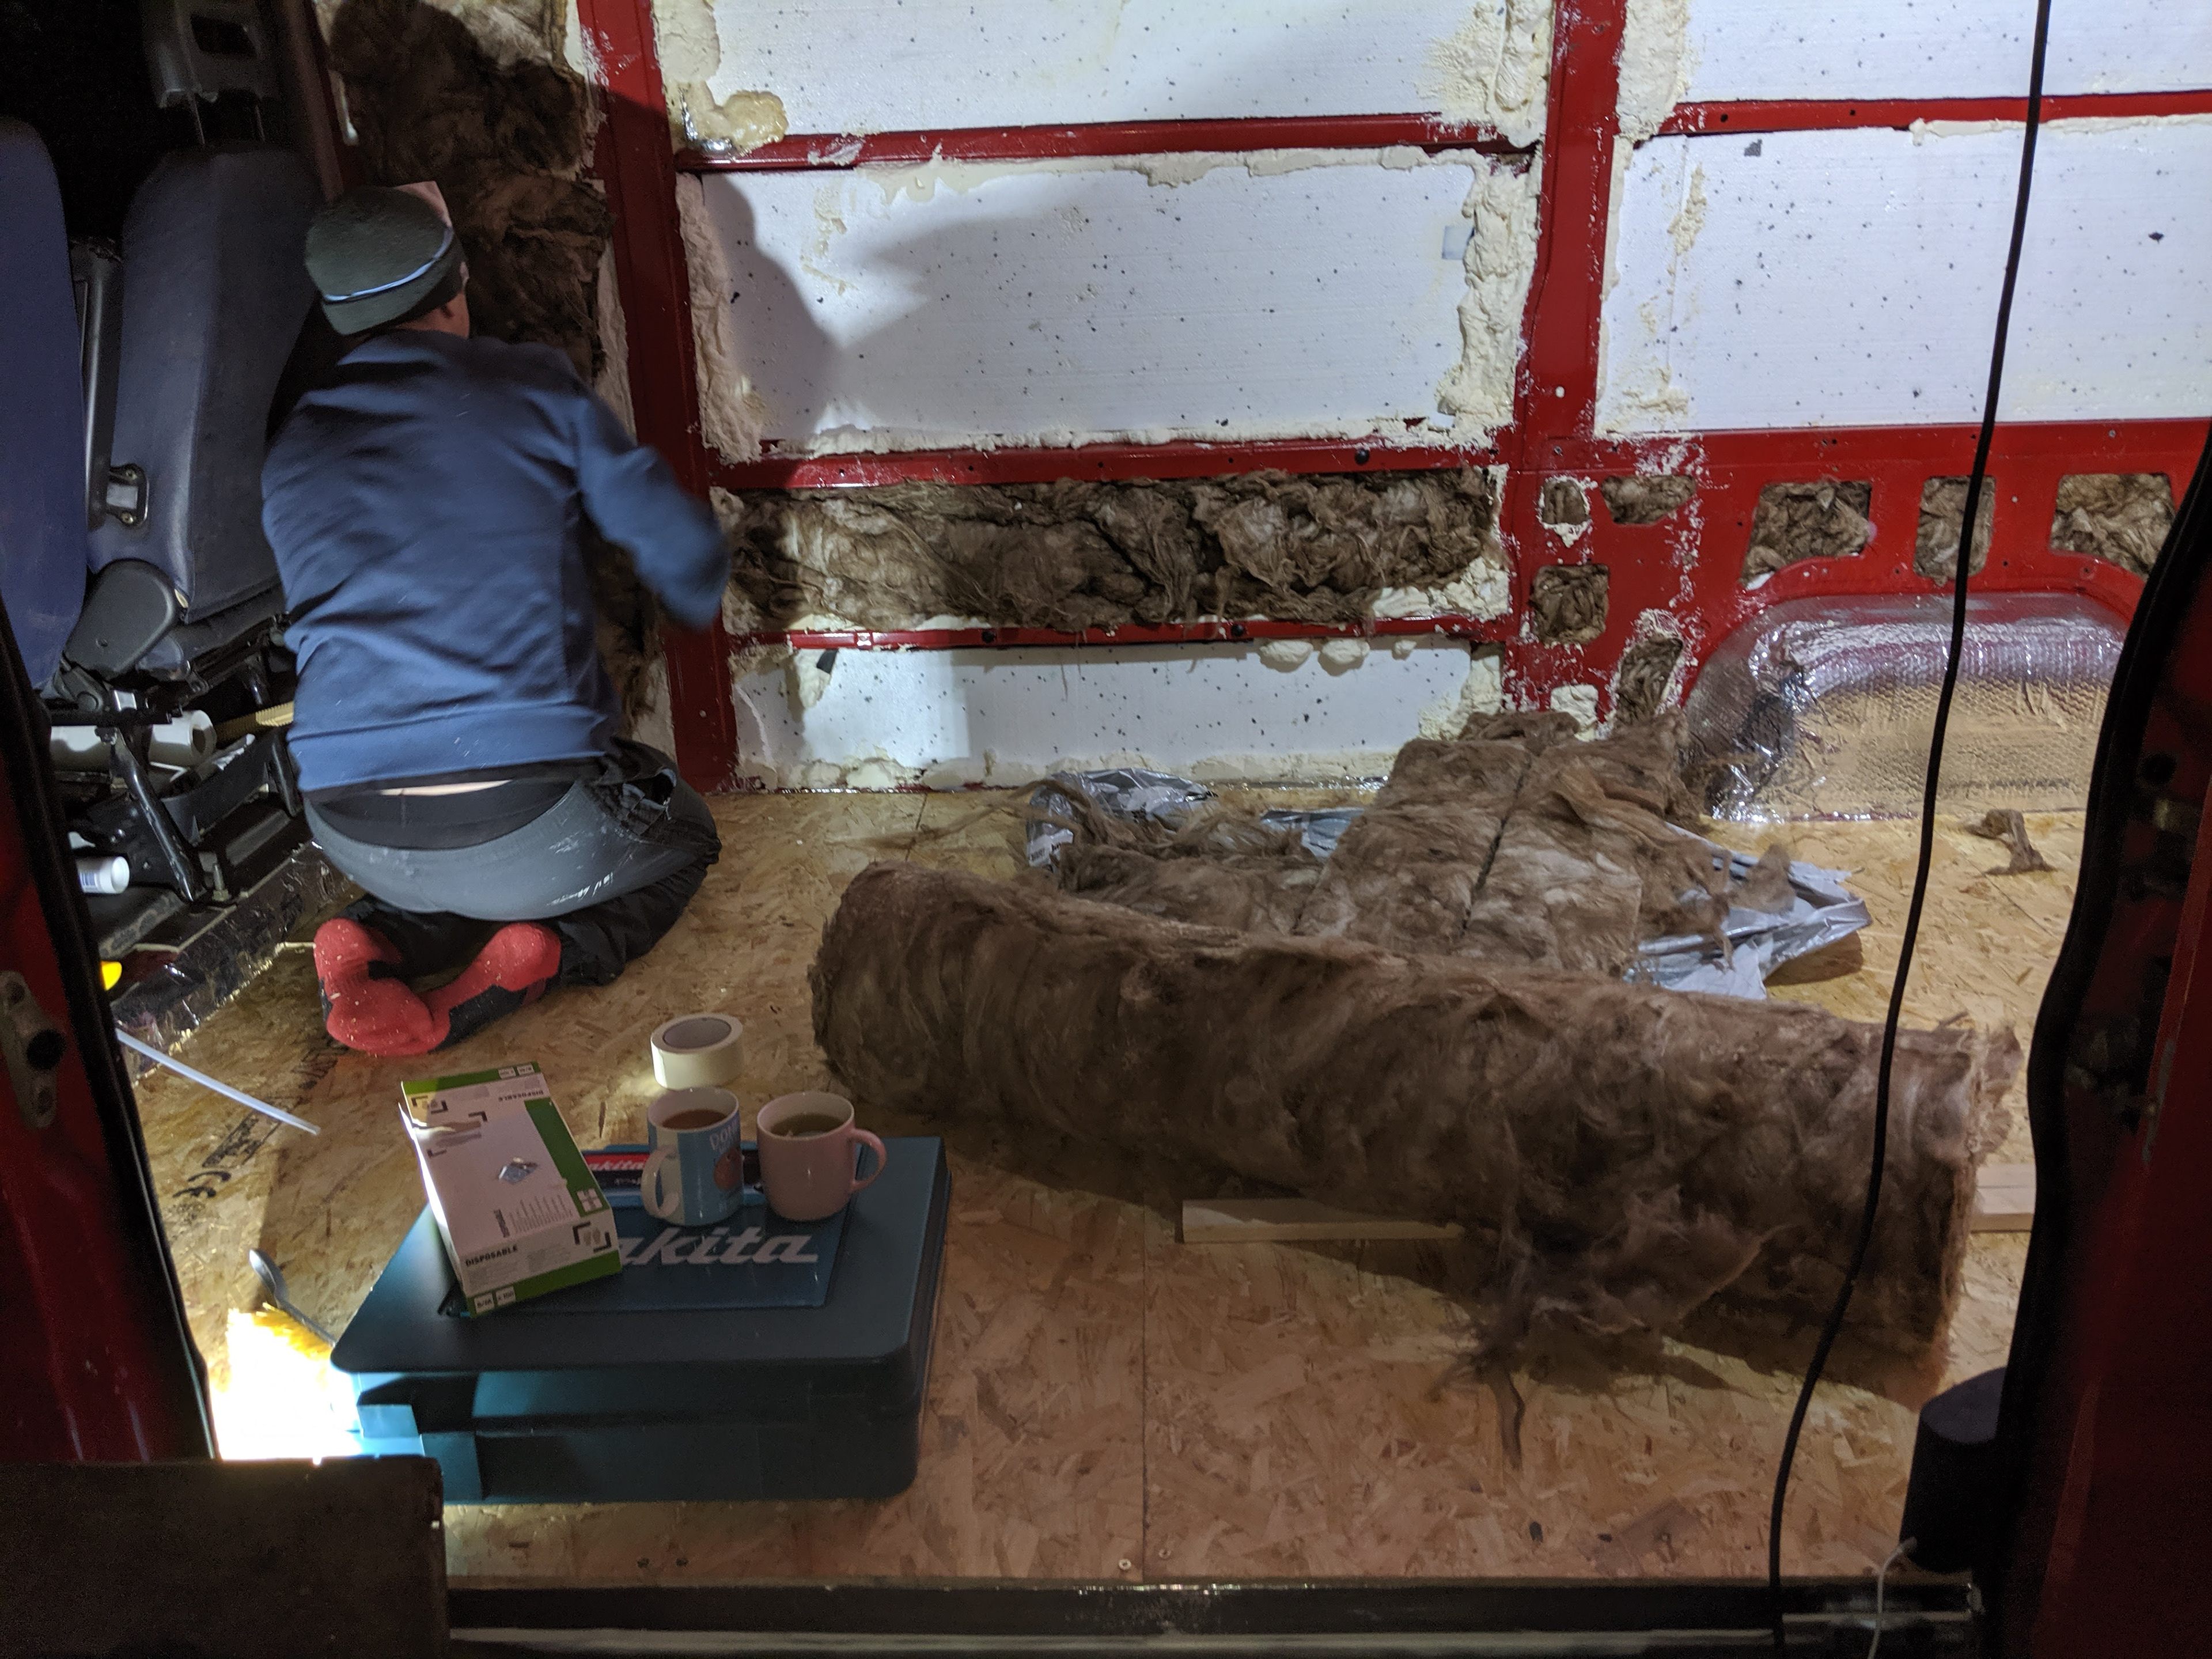
The van is a 2005 fiat ducato long wheel base. 

The kitchen space is a small but efficient space. the tiles finish off the wall nicely also making it more hygienic when cleaning spillages and splashes from food and hot water. The sink is simply plumed into a large container which is emptied when needed. The seating area is yet to be finished my plan is to have a folding table that goes infront of the shower unit and then a seat that folds out on the wall on the stove.
I am going to add a further wall to house the electrics safer and add shelving next to the sink for utensils and shoes.
I wired all of the electrics using a kit supplied by rayne automotive. it came with very clear instructions that allowed me to give power to the van. there is a power inverter that allows laptops and phones to be plugged in and charged. The switchboard is connected to 2 sets of lights; one for the entrance side and the other for over the bed. The lights i wanted them to have a warm glow and are about 3k output LED's.  the Leisure battery is connected to the solar panel output, vans battery and also option to be connected to a 240v hookup. the electrics had quite a few obstacles as i had to run cables through the van and underneath to the bonnet and plan the lights cables before i put the panels on the ceiling. but this option means that the van is self-sufficient and self-producing electricity. 

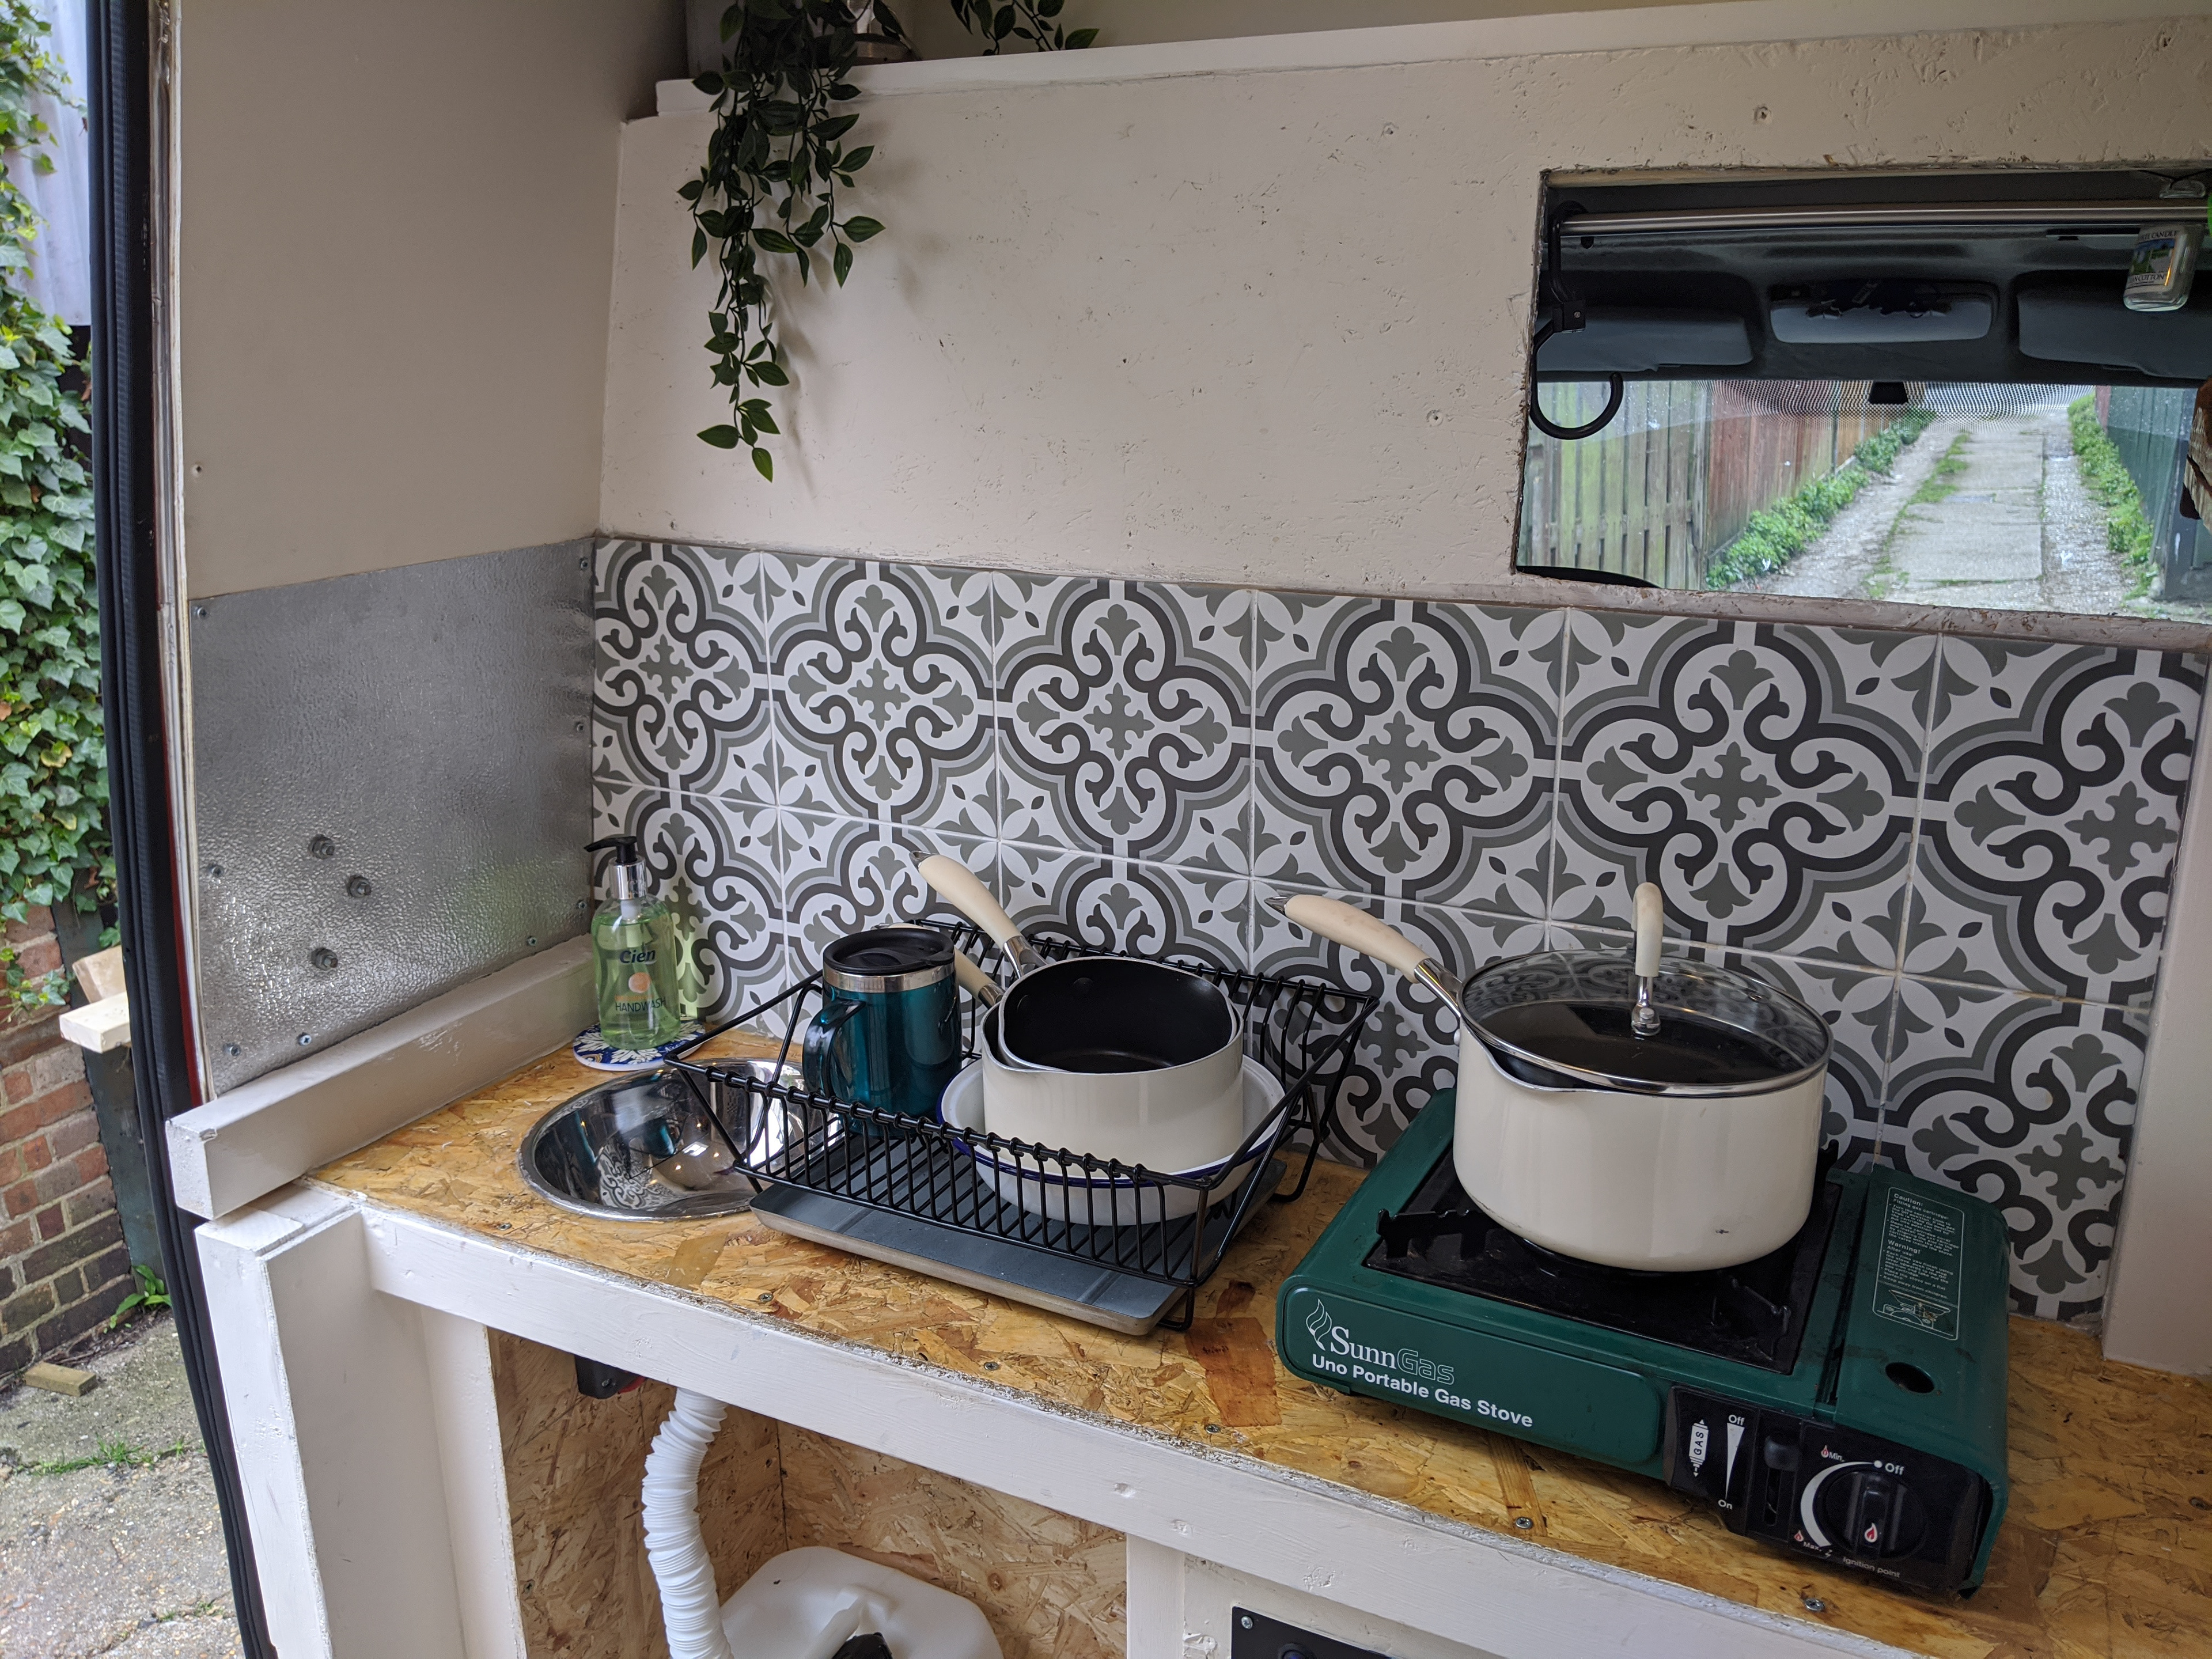
the windy smithy wood burning stove is the only heater within the van. it has a 2k output. In the alps the temperature dropped to -10 and was kept quite warm when this was burning. I could cook on it and heat water efficiently.

THE SHOWER IS COMPLETELY WATER TIGHT. I YACtH VARNISHED THE WALLS to make sure no water could get into the wood. to install the shower tray i had to cut a big enough hole through the floor so that i could put a small pipe underneath for the water to drain. I found this very hard as i had to avoid the exhaust and make sure the fixing was secure and watertight. Put tiles round the top of the shower tray just to make sure that it would not some loose and open gaps for water to get into. The shower I bought from Ebay you plug the power into a 12v supply which is located under the kitchen unit and then submerge the pump into a water supply. i found this part of the build very challenging but the design paid off and i am very please on how it operates.

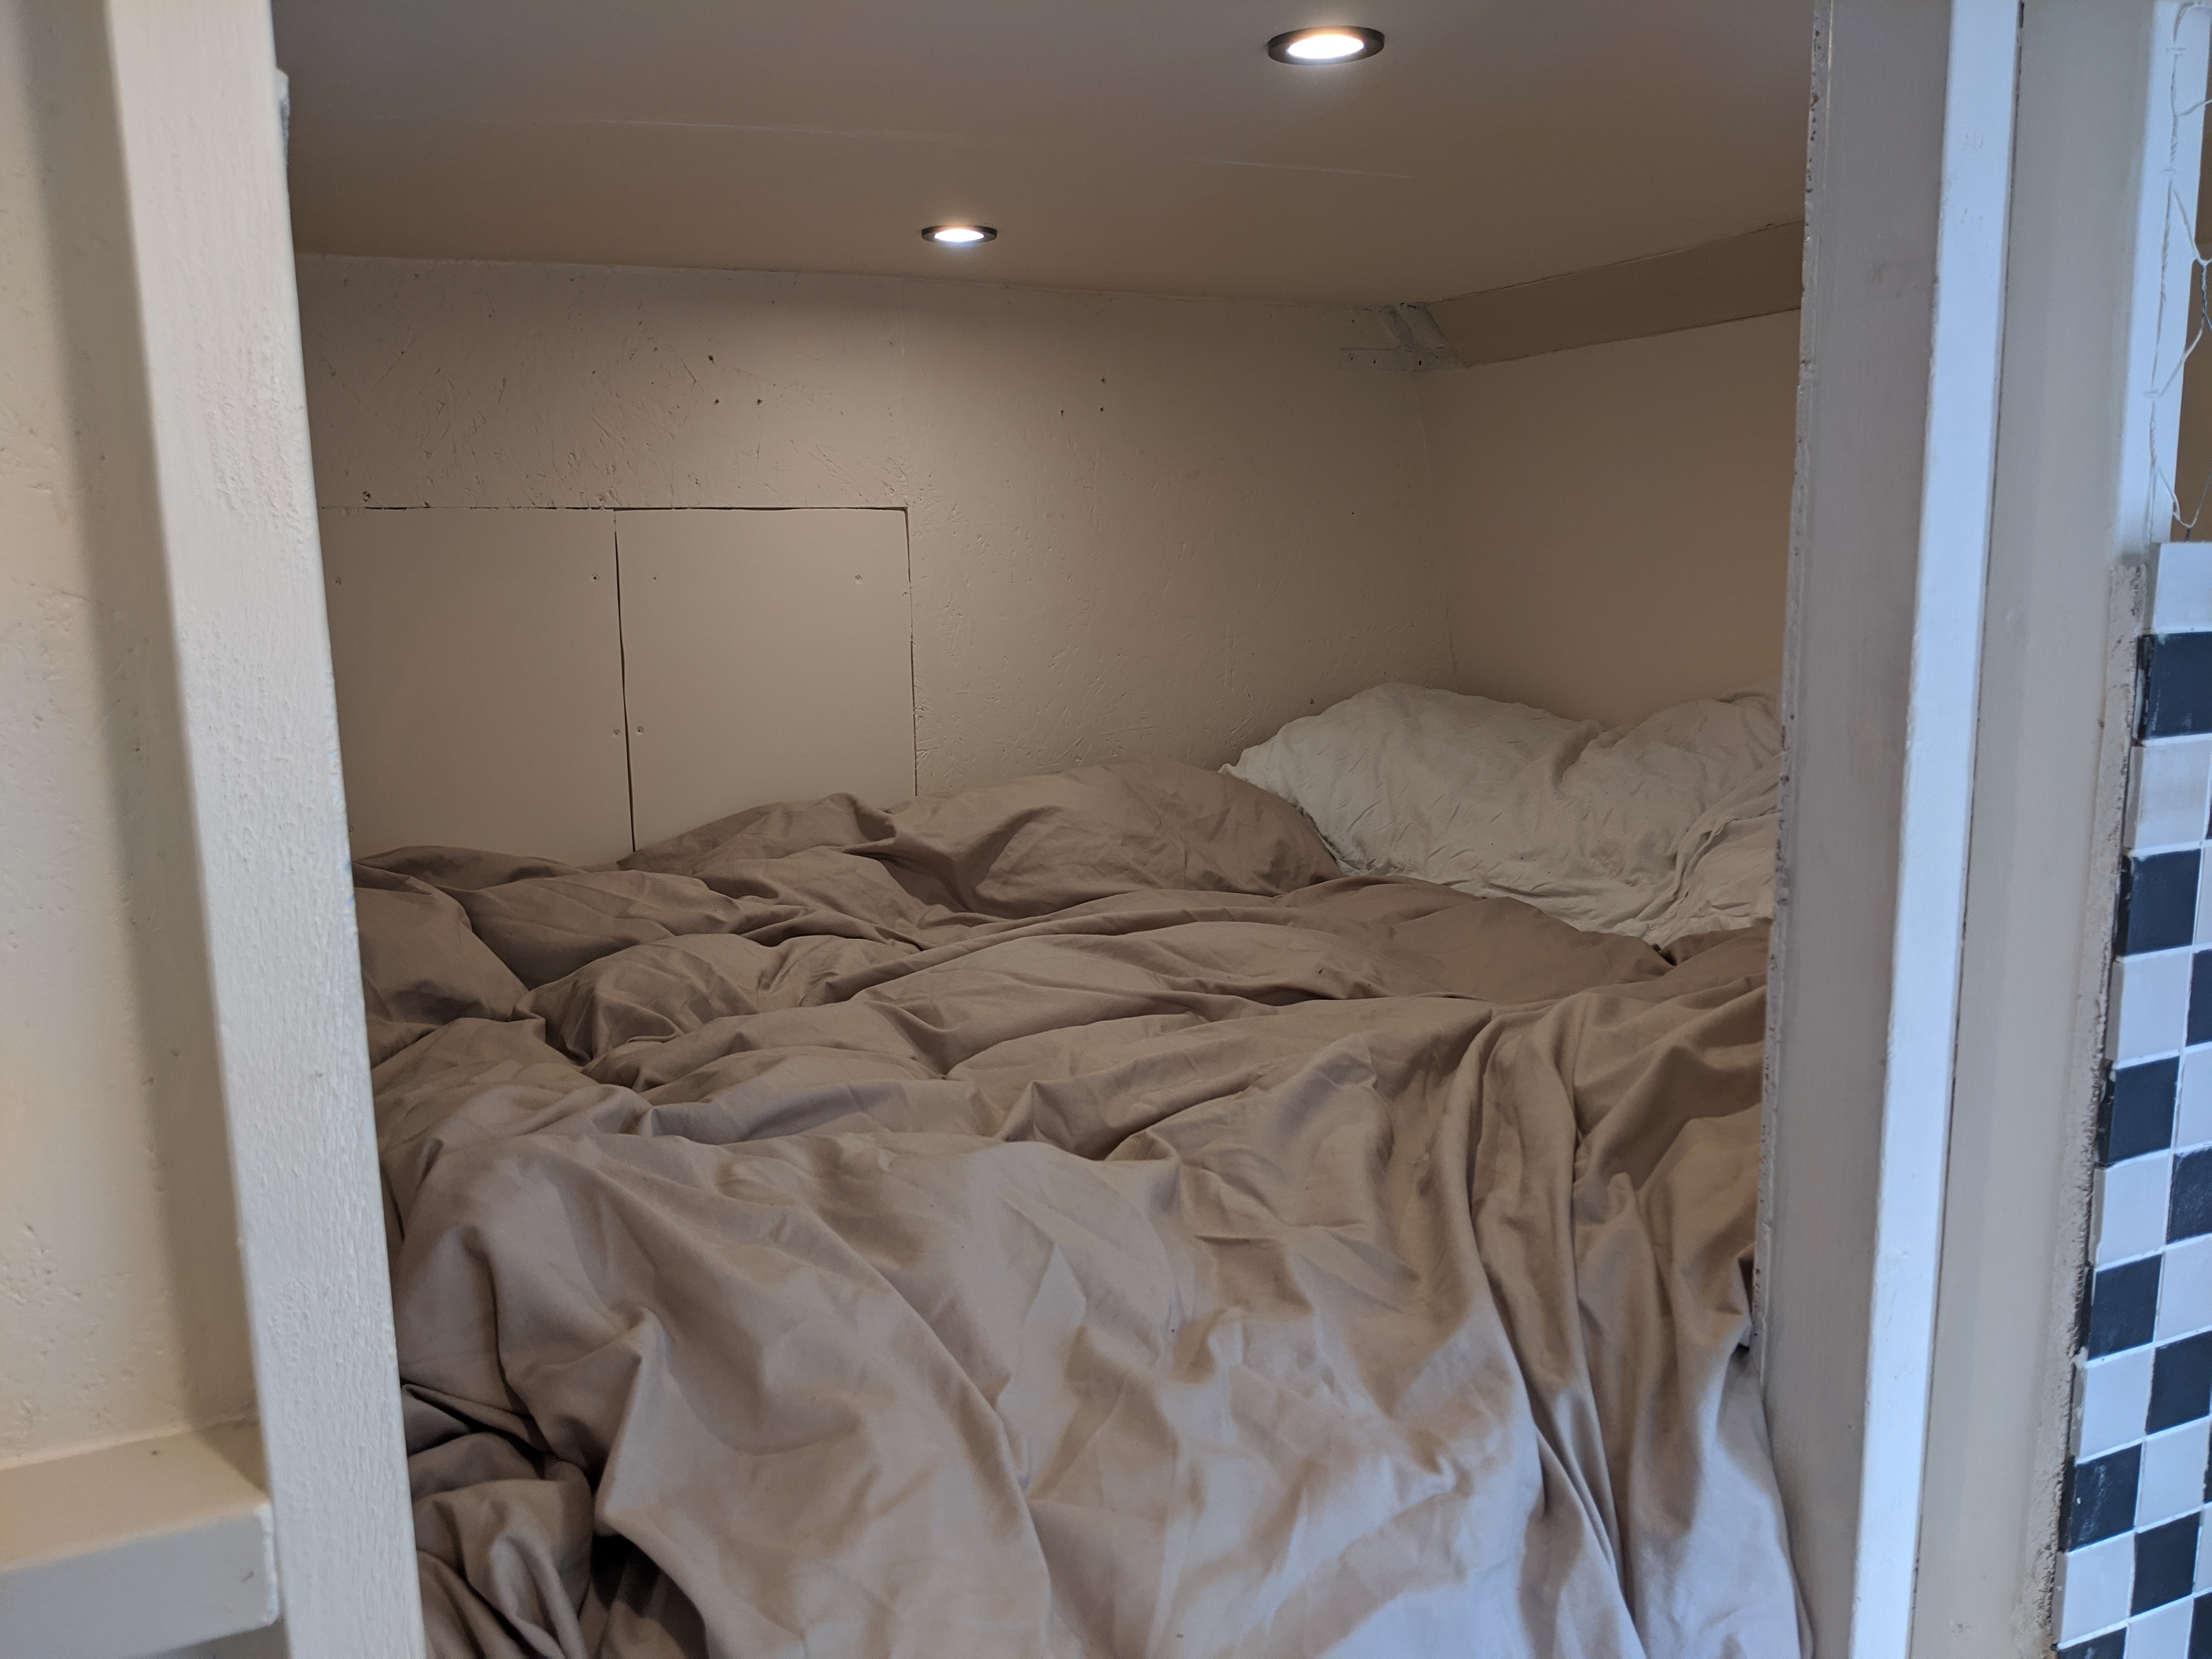
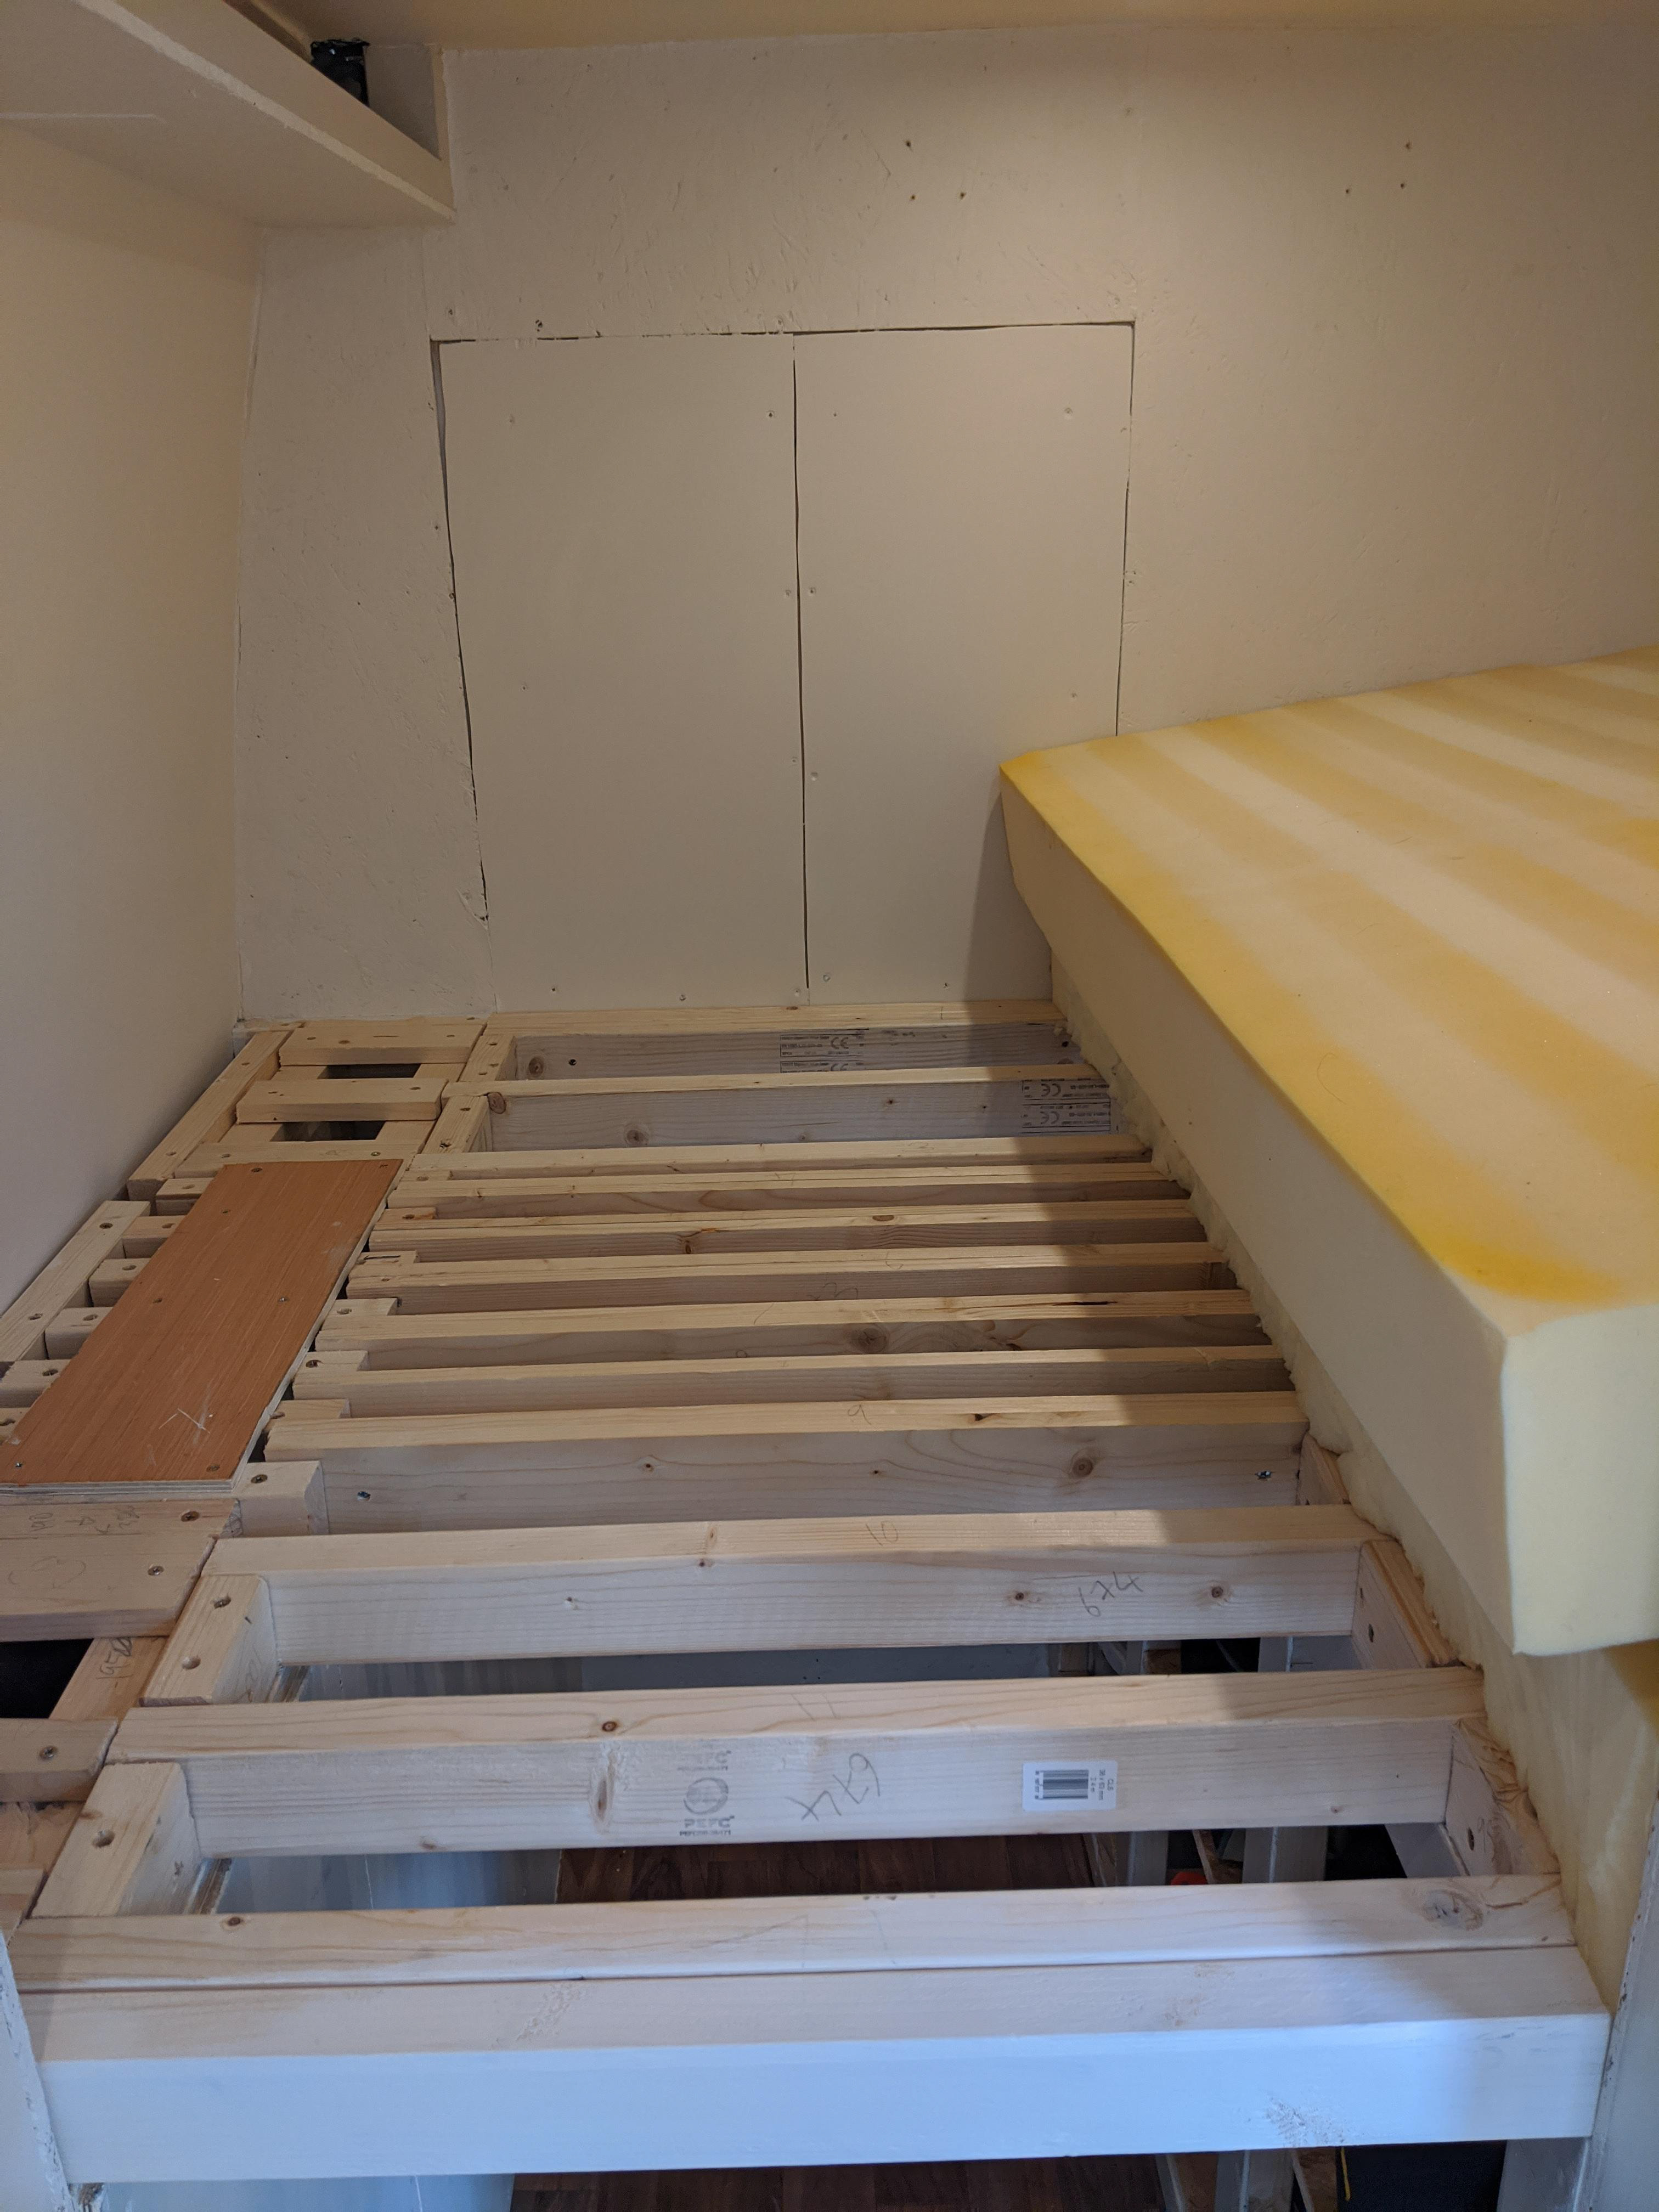
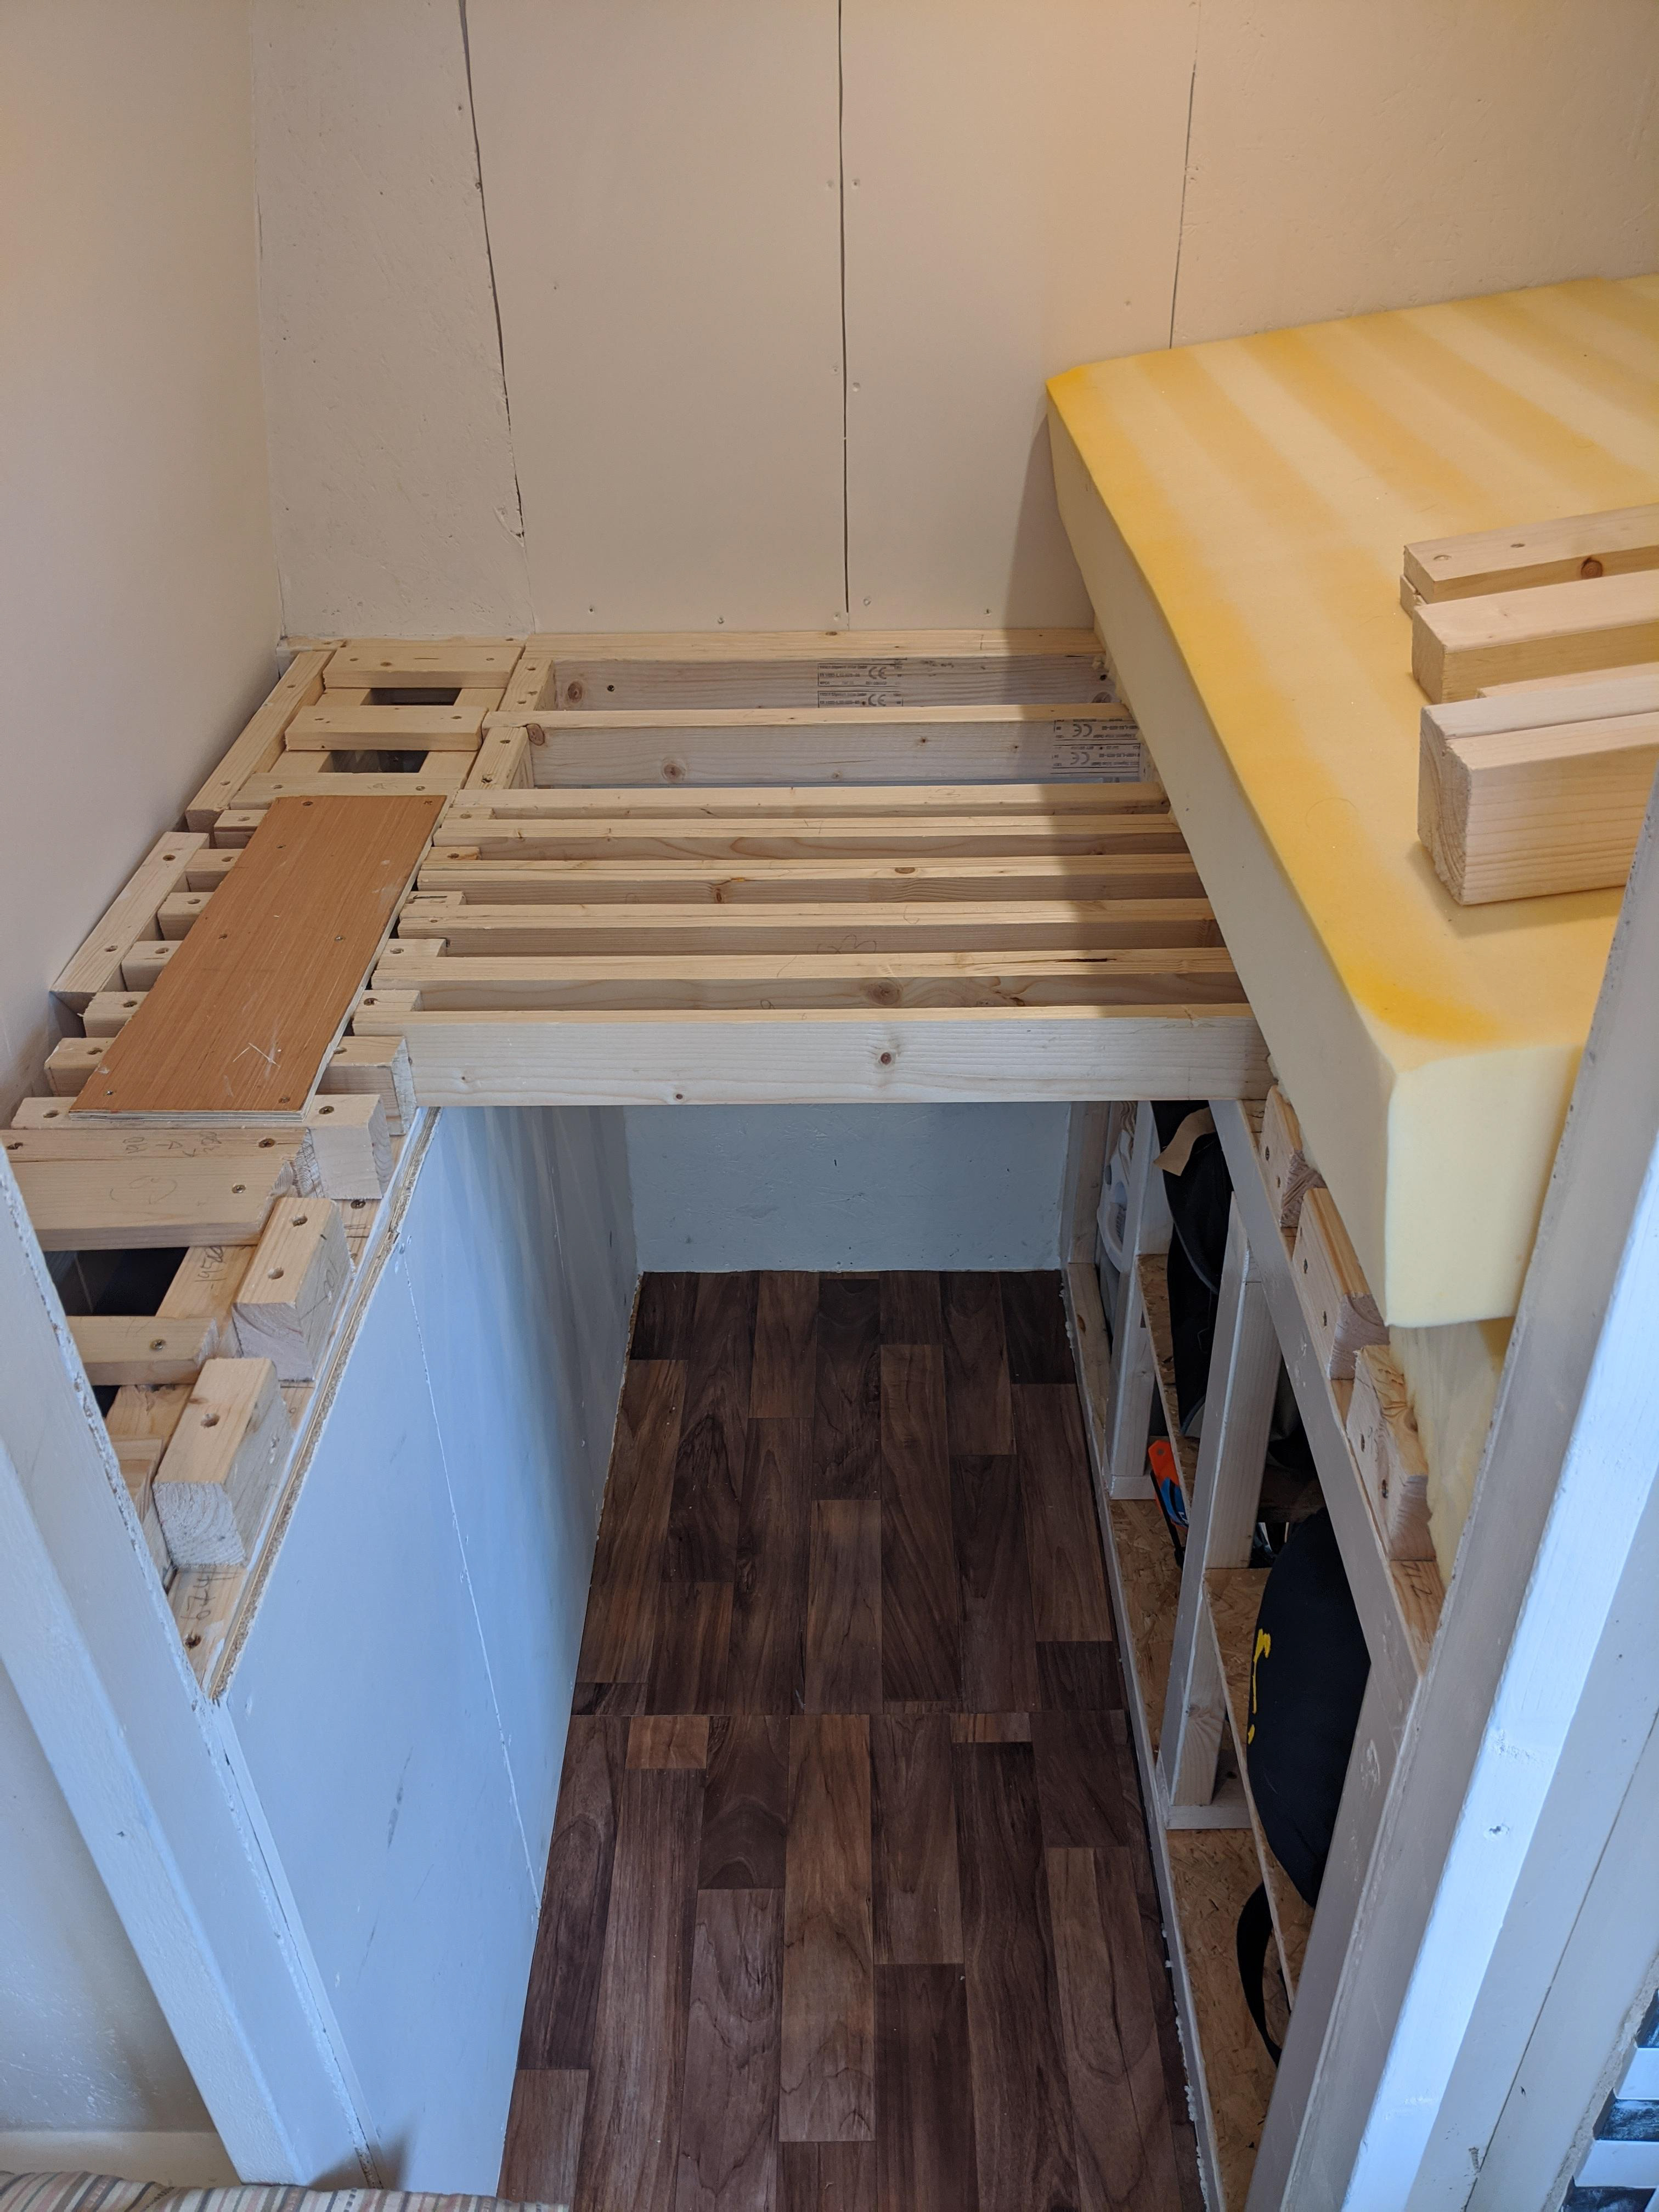
The bed I have used an old memory foam mattress that i cut in half. i want to finish decorating this area giving it a bit more character adding fabrics and little furnishings.

The bed can be folded in half giving you extra room to get changed or sort and access the storage to the left and underneath. I want to finish the back wall so i can finish installing a window that can be opened in the summer for further ventilation and views whilst in bed. 

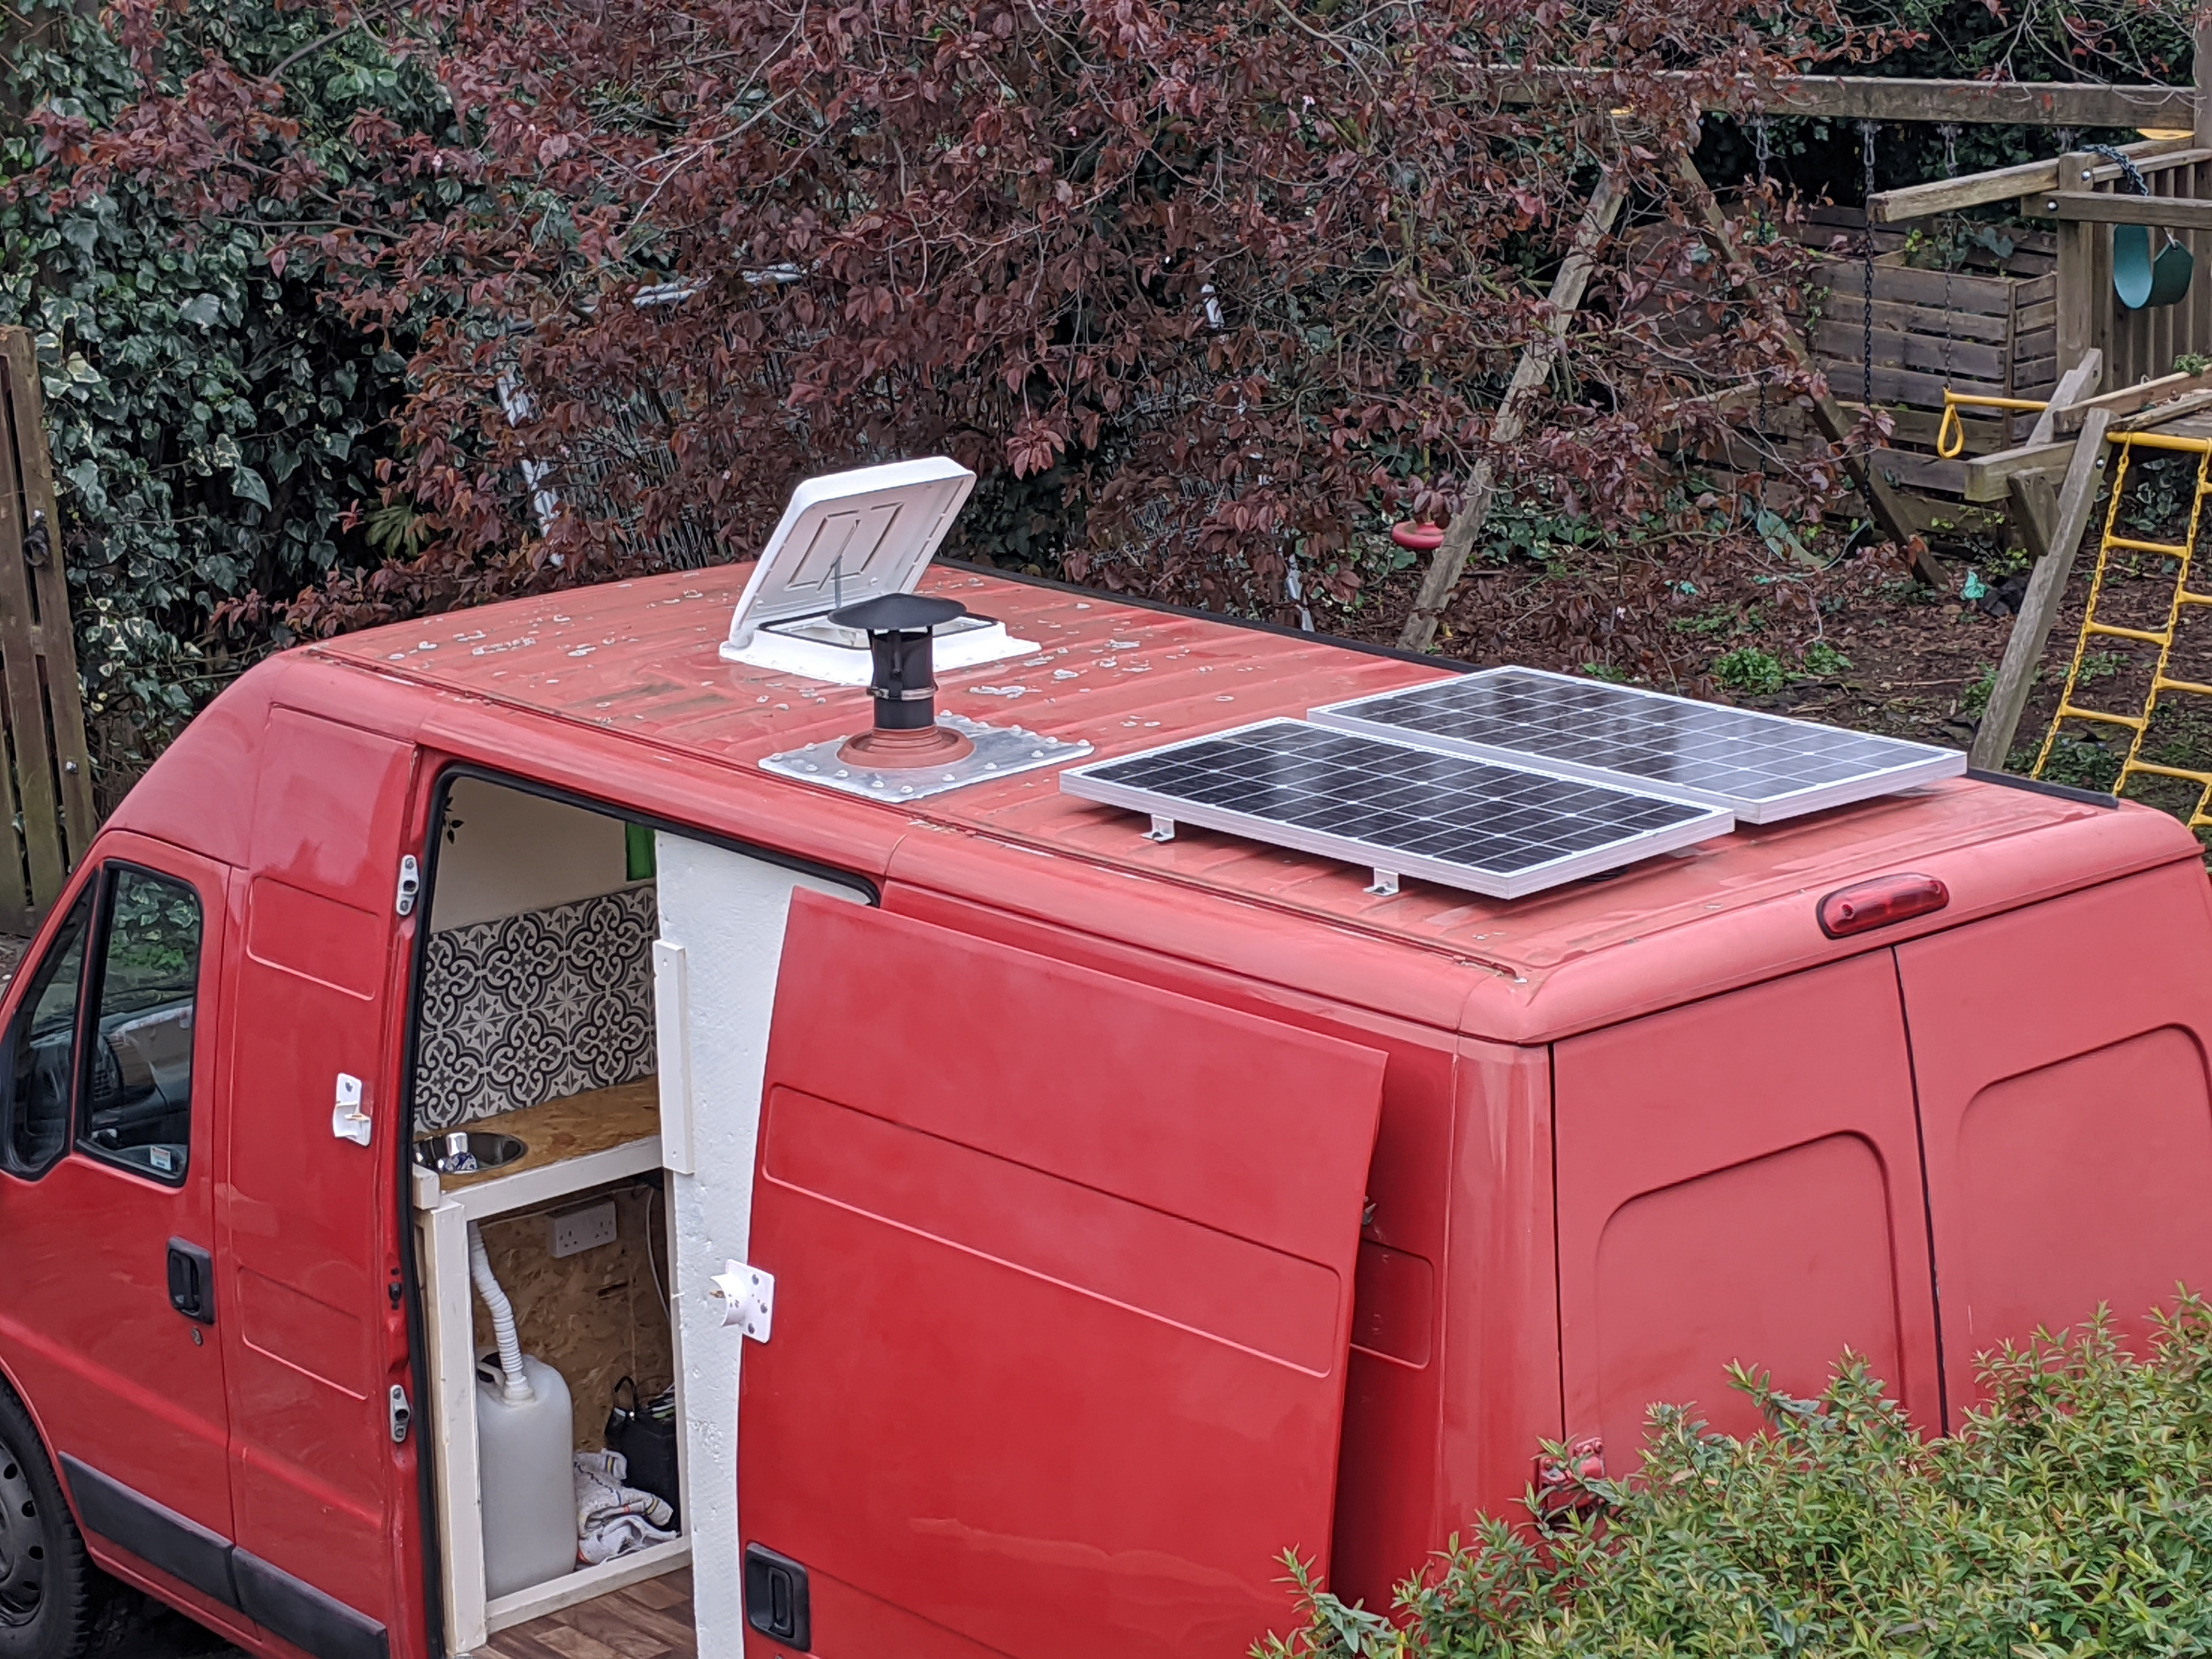
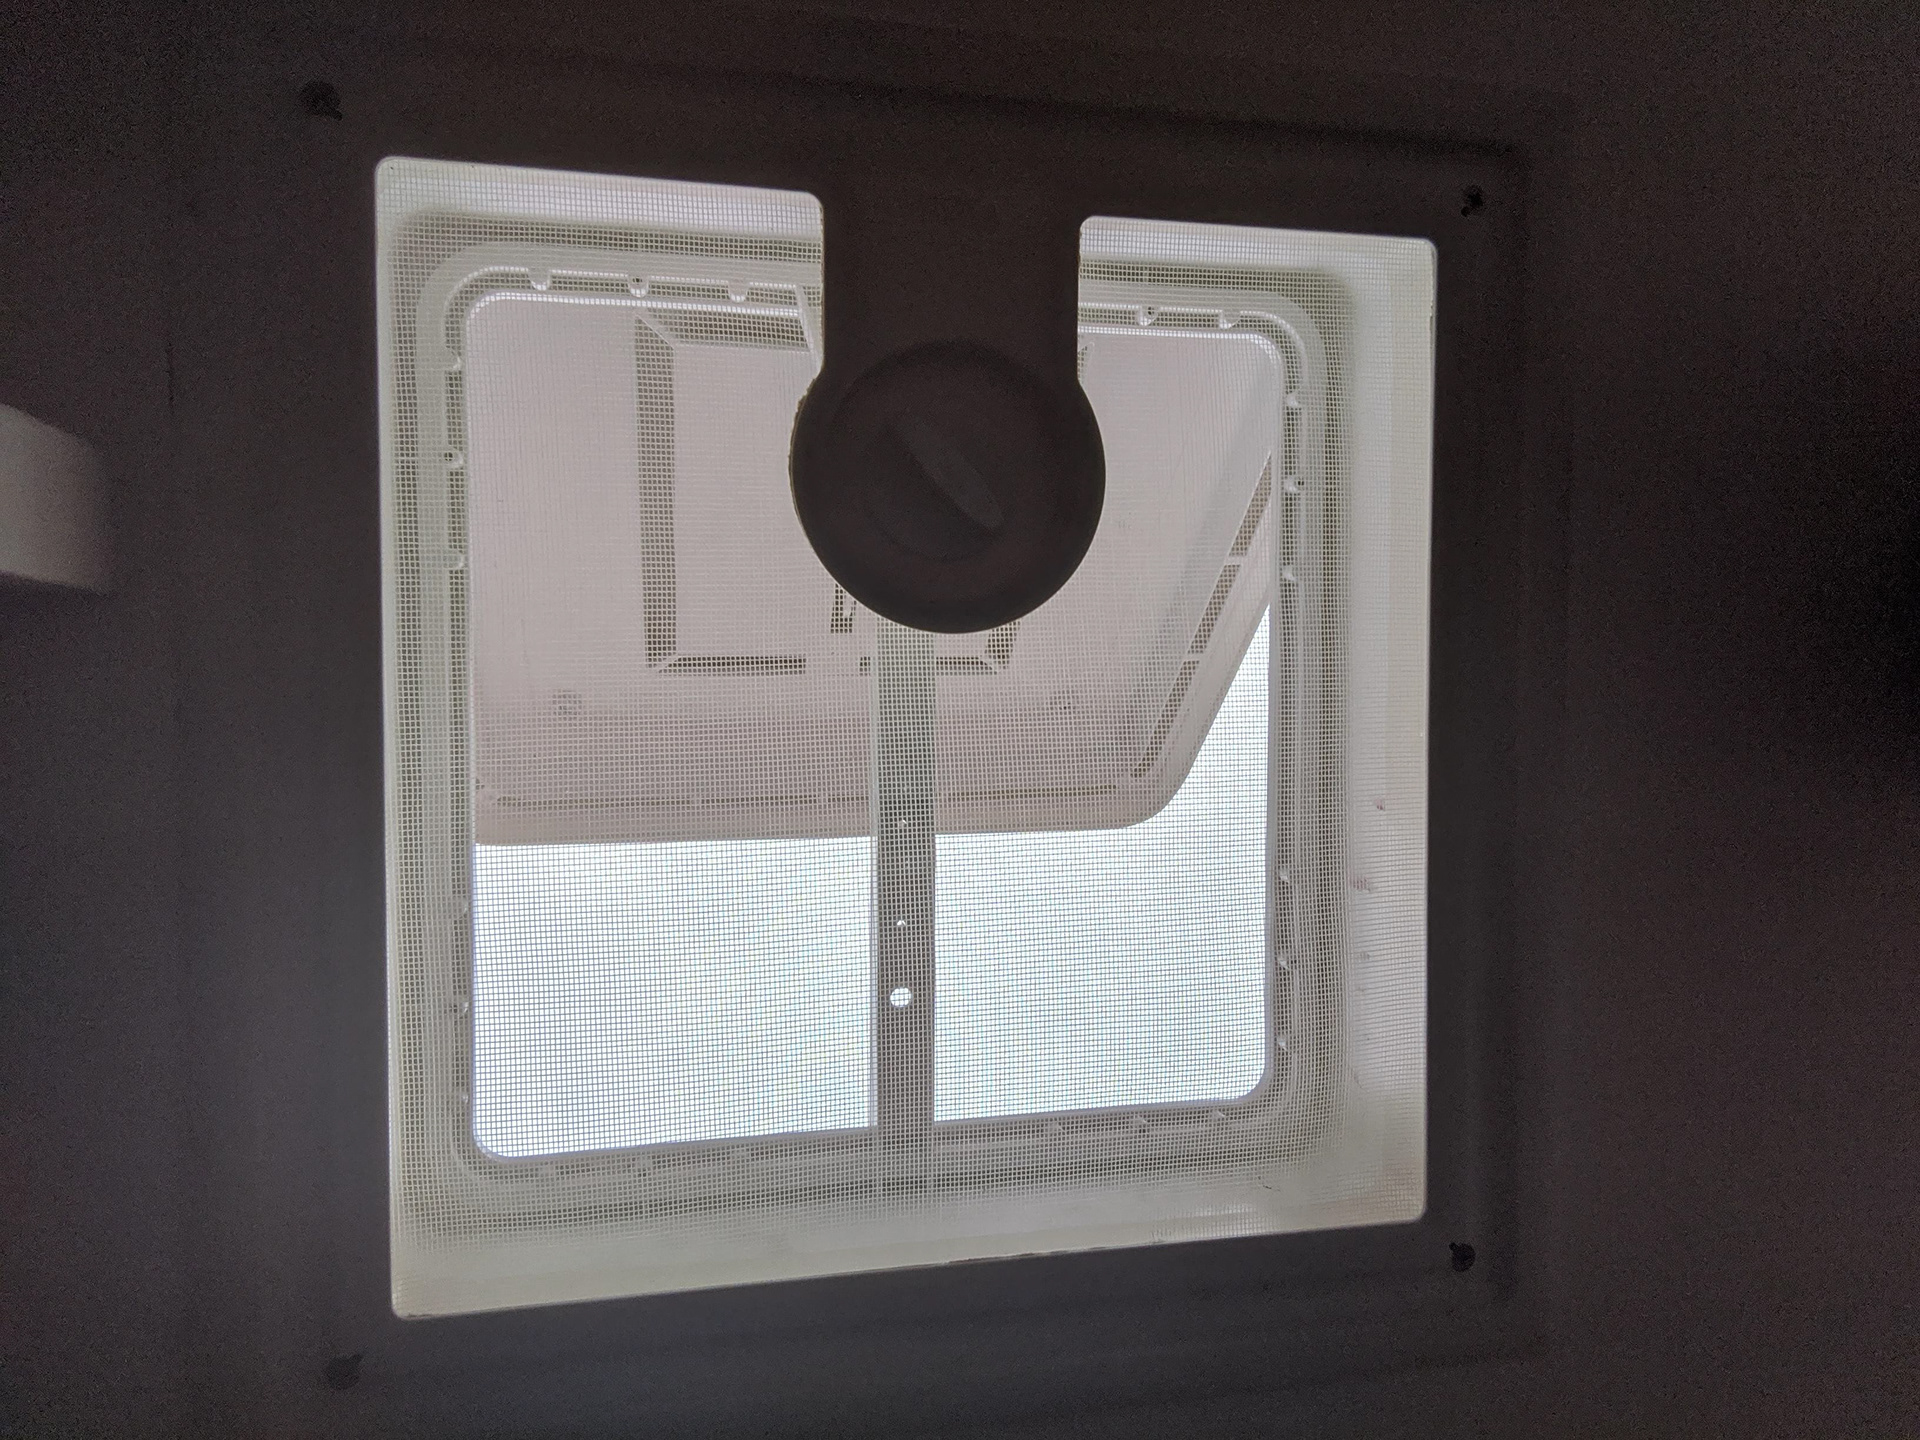
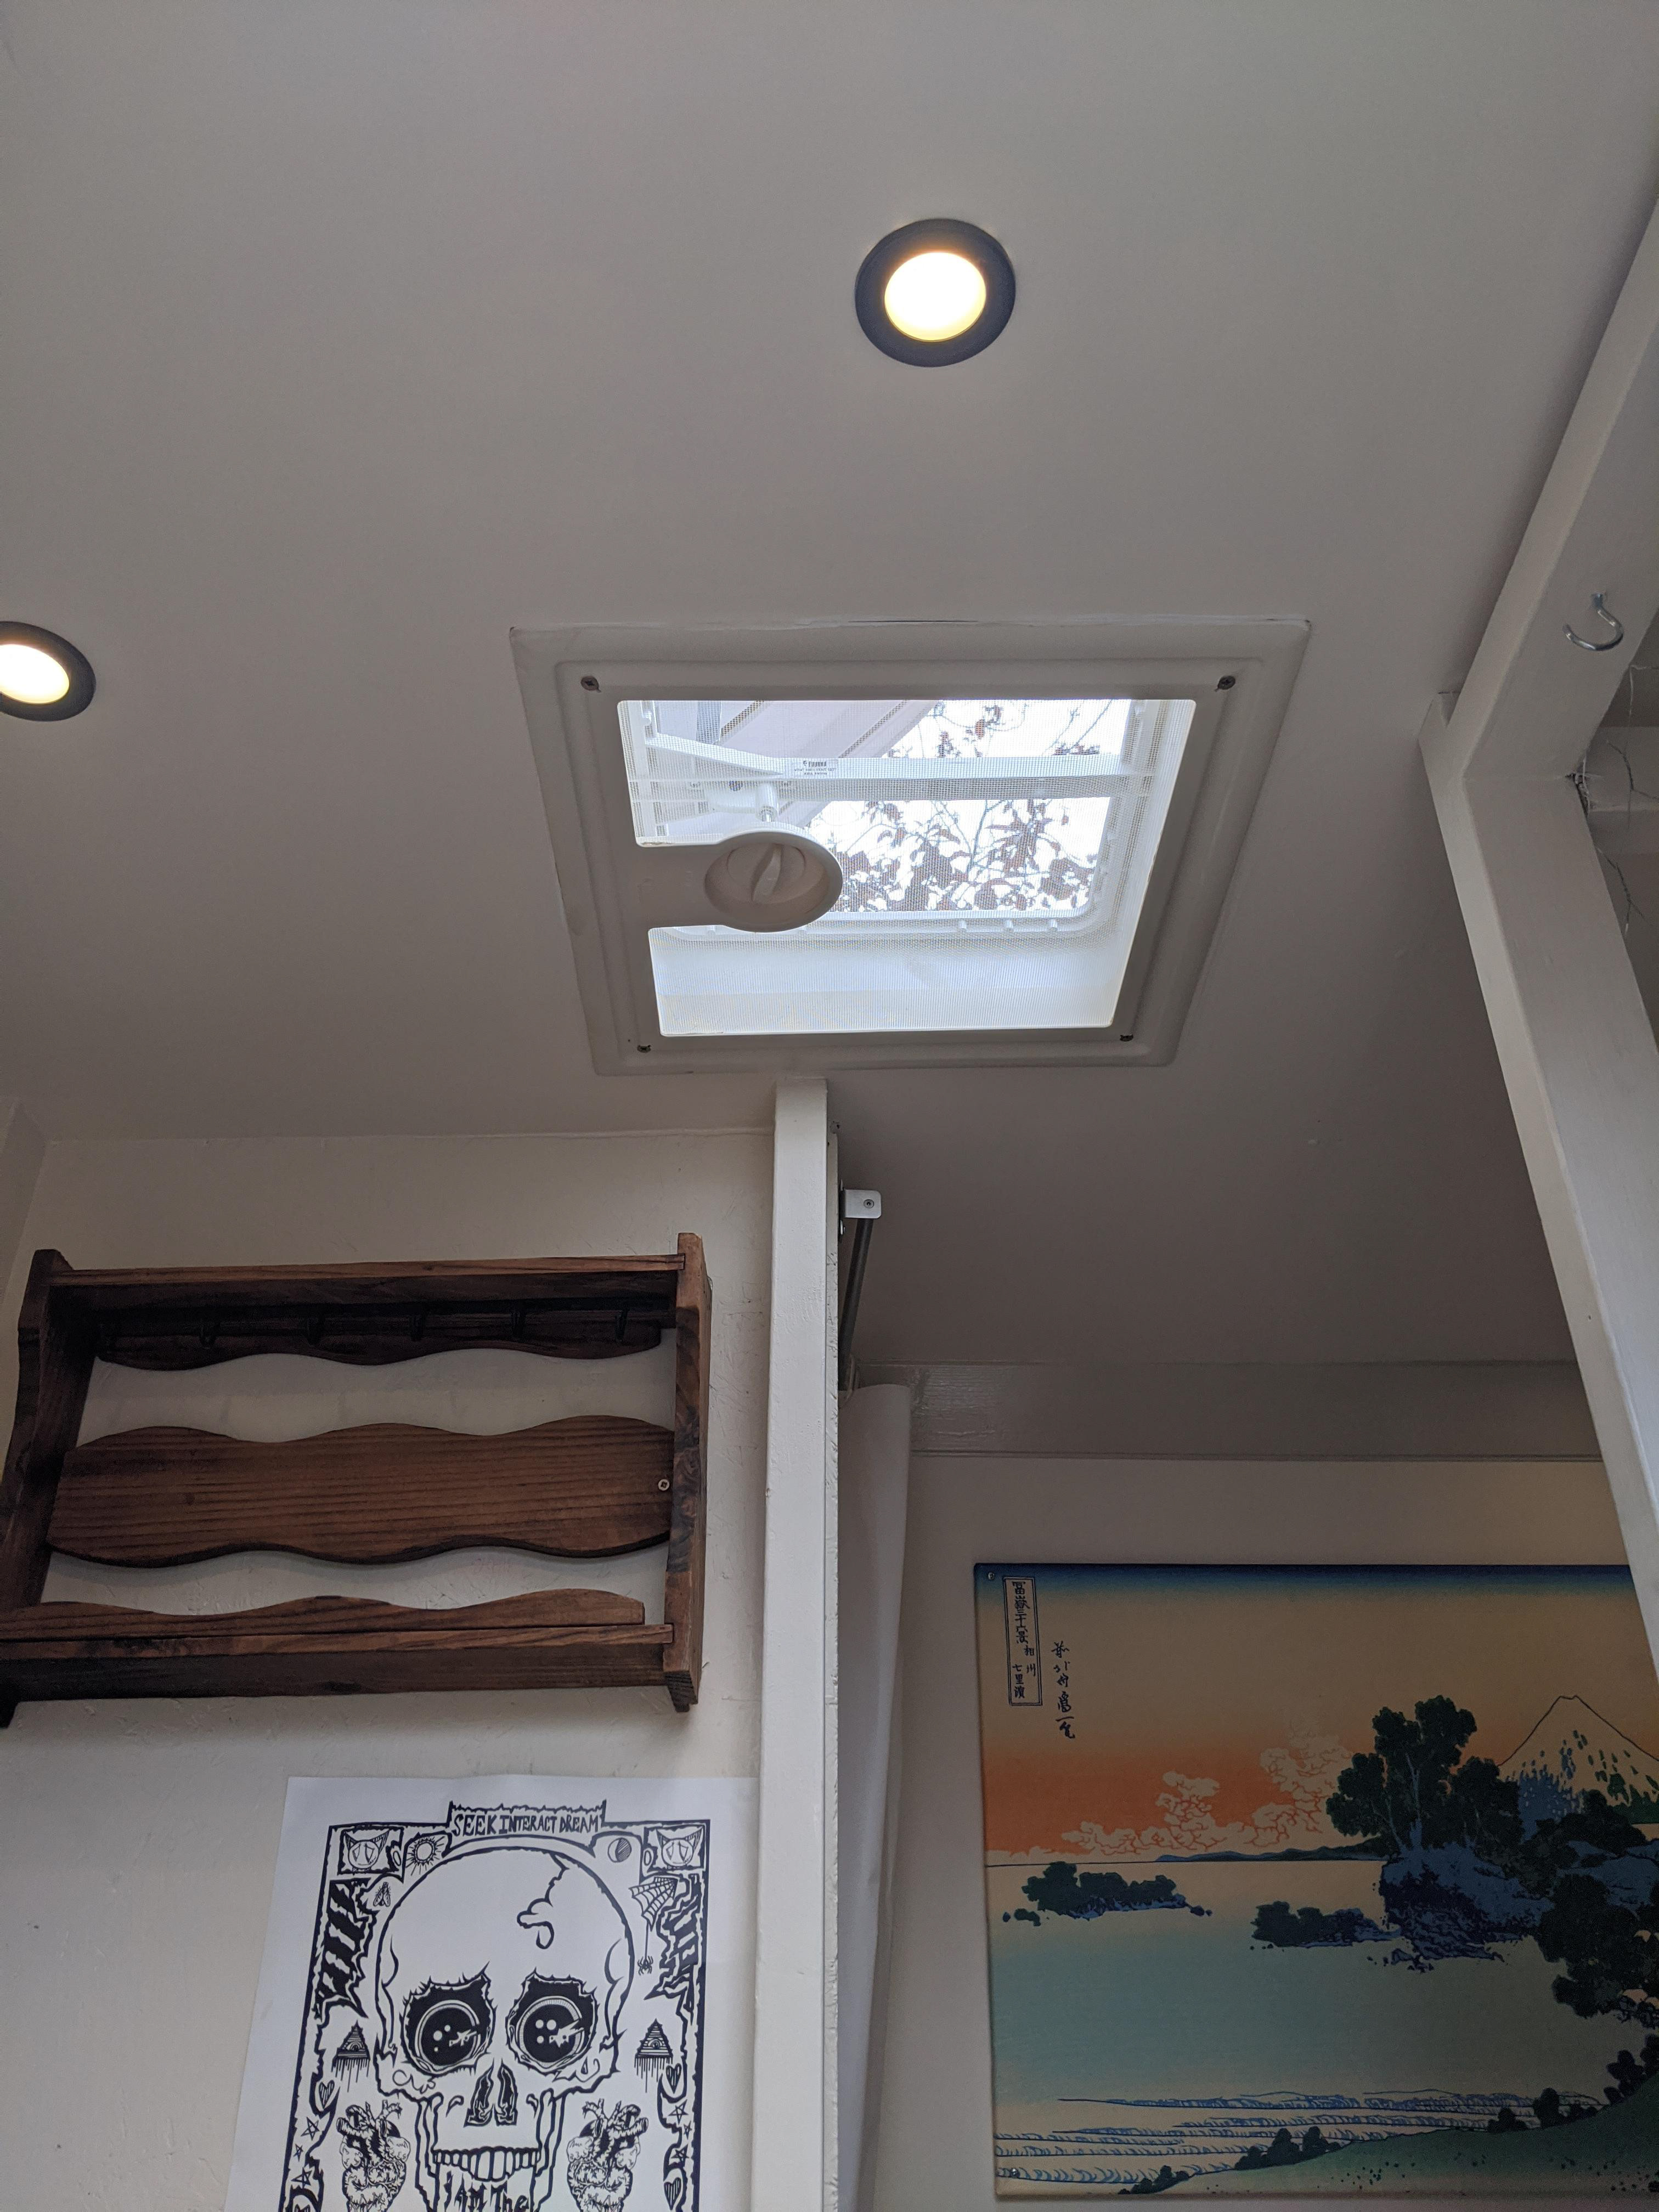
The solar panels are really good to have as they charge the leisure battery during the day making the van completely self-sufficient for electricity. the skylight has permanent ventilation keeping the damp out of the inside. The chimney for the stove i had help from my step-dad to install. the flue is completely secure within the fixings.

once i had insulated and put the flooring down i put polystyrene, recycle fibre glass, expandable foam, reflective insulation wrap and then panelled with 9mm plywood. I applied the same to the ceiling once the sky light and solar panels had been installed and planned the rest of the electrics.

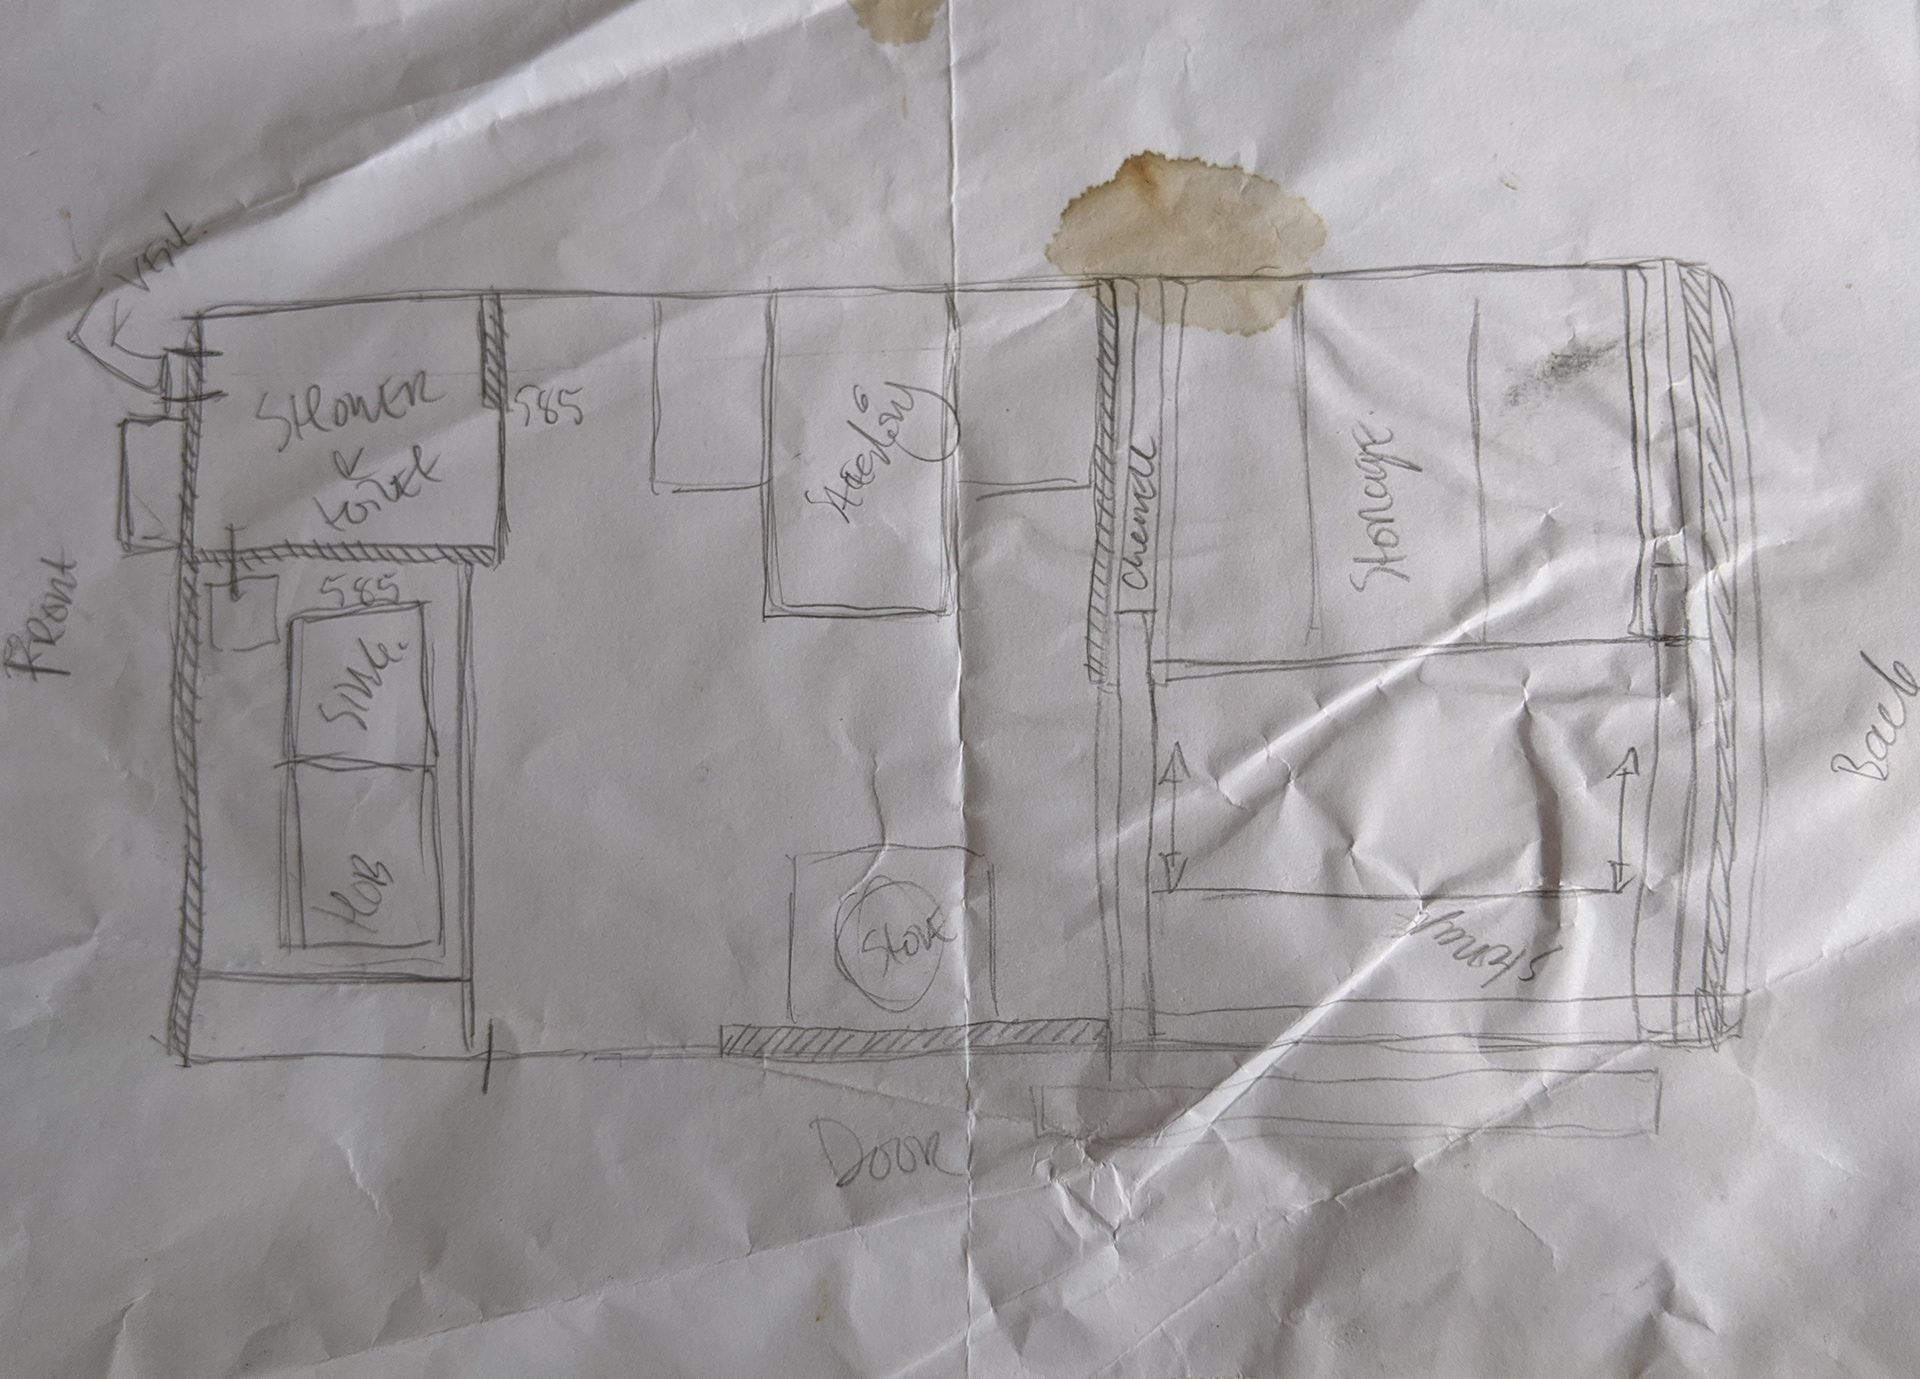
This is the original plan for the build. i stuck to how the space was divided but made alterations to how i wanted the bed to be made and i haven't finished the seating area.

Thank you for taking the time to look through my portfolio.

You may also like

Back to Top